Connecting to the eResearch Network (eRN) 
The eResearch Network (eRN) is isolated from other university resources. To access any eRN resources, you must first connect to a Virtual Private Network (VPN).
You should be able to securely connect from the UFS corporate network, Cellular Phone Hotspots, your home, or other WIFI networks with Internet access.
Please note that there are no additional costs in using the eRN VPN. However, standard data rates imposed by your Internet Service Provider (ISP) apply.
Connect to the VPN first whenever you need to connect to any private (non-public) resources on the eRN.
In the sections to follow, you must import your personal VPN profile. If you still need to download it, see the profile instructions page for more information.
OpenVPN Client 
Most users will find the installation of OpenVPN Connect sufficient for their purposes. Some GNU Linux distributions also have built-in methods to connect. Which method is used is up to the user. However, it is worth noting that not all clients support certain features, such as getting custom routes from the VPN server. An alternative for Apple users might be the Tunnelblick client.
This section will, however, only discuss the installation and configuration of one client per Operating System (OS). We will also only focus on Open Source clients, but it is up to the user to decide whether they would like to procure a commercial solution at their own expense.
Depending on your (OS), such as Microsoft Windows, macOS, Linux, etc., see the sections below on installing a VPN client on the specific OS.
VPN setup instructions for Windows users
Download the latest version of OpenVPN Connect from the official website: https://openvpn.net/client. The website uses JavaScript to determine your Operating System and should detect Windows, macOS, and some GNU Linux distributions.
Follow the download link provided on the OpenVPN Connect for Windows page. As of this writing, version 3 is the most current and works on Windows 7, 8, 10, and 11. The mentioned client supports Windows 7, 8, and 10, even though they have fallen out of support by Microsoft itself. Figure 1 illustrates the website's layout. You will notice a "Download OpenVPN Connect" v3 button in this case.

Open the downloaded file and run the installation wizard. The default values for the wizard can be used. Note, a restart is not required.
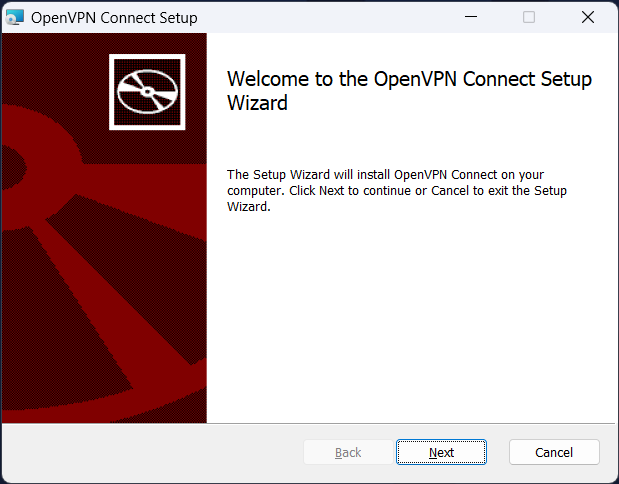
Following the on-screen instructions, the wizard will start the installation process.
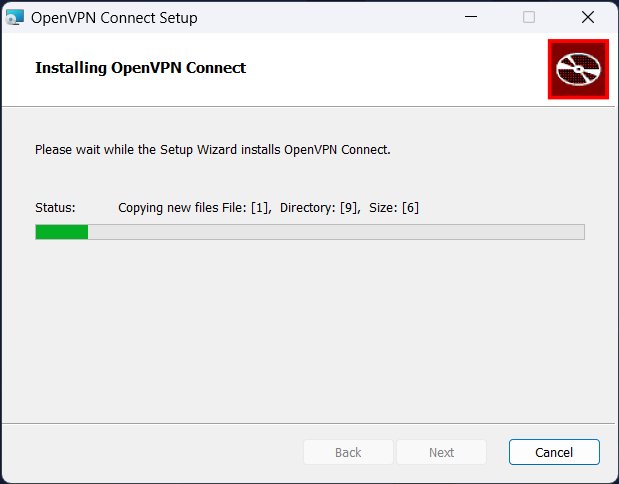
When the installation is complete, click on the finish button and open the OpenVPN Connect client for Windows.

After installing the client, follow the instructions to import and use the OpenVPN Connect Client.
VPN setup instructions for Mac users
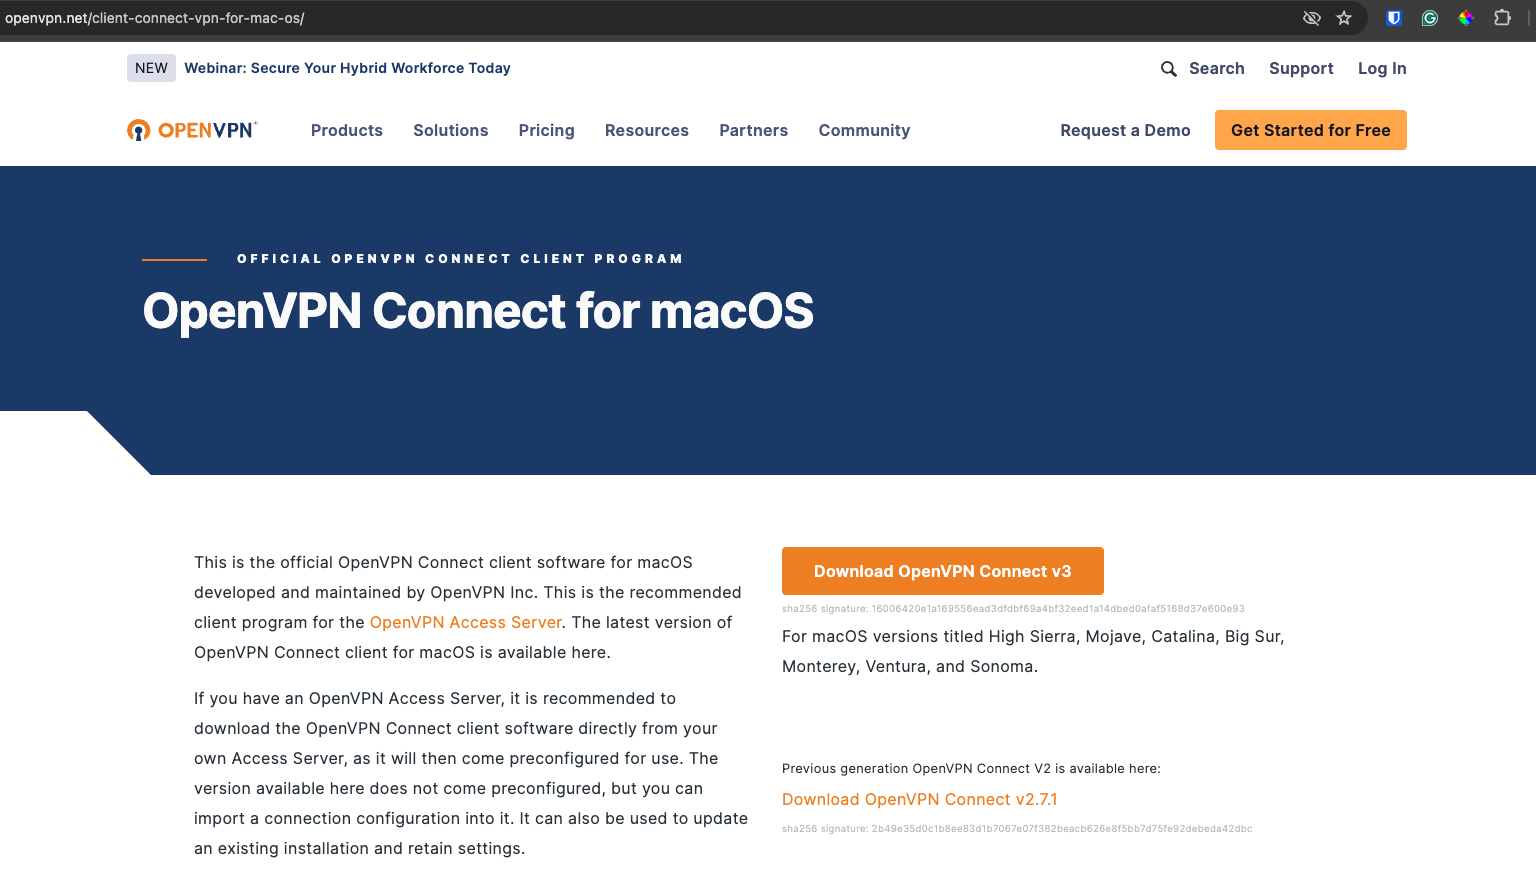
Download the latest version of OpenVPN Connect from the official website: https://openvpn.net/client. The website uses JavaScript to determine your Operating System and should detect Windows, macOS, and some GNU Linux distributions.
As of this writing, version 3 (as seen in Figure 5) is the latest release available for Mac OS. Click the "Download OpenVPN Connect v3" button.
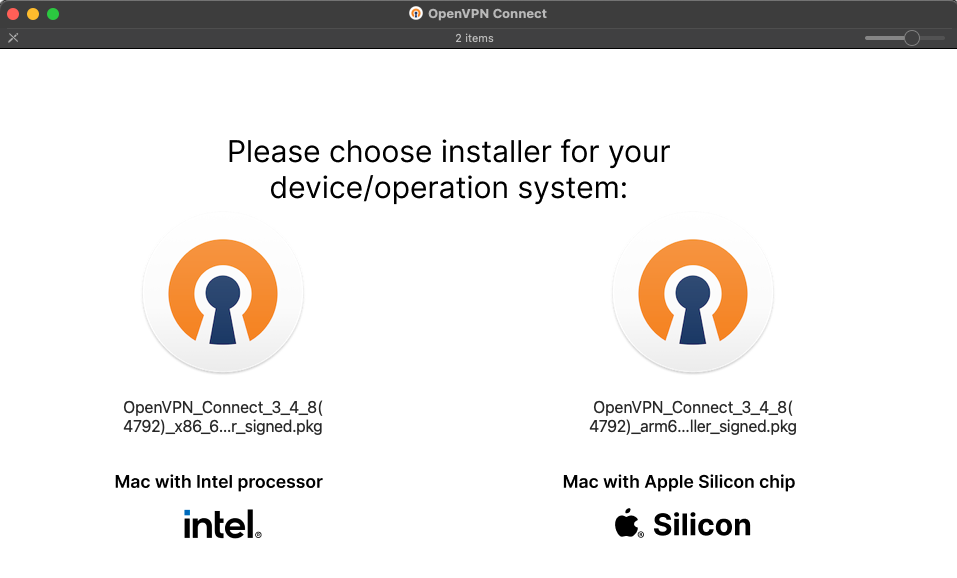
Open the downloaded file. Depending on the installer, you should select a Mac with an Intel or an Apple Silicon chip (see Figure 6) depending on the device you are using. Select the Apple Silicon option if you have an Apple M1, M2, or later chipset.
Follow the on-screen instructions provided by the installation wizard.
After installing the client, follow the instructions to import and use the OpenVPN Connect Client.
Select the GNU Linux distribution that reflects your installation.
VPN setup instructions for Ubuntu or Debian users
These instructions are based on information gathered from the OpenVPN Community Wiki.
Using OpenVPN Connect 
Windows and Mac users
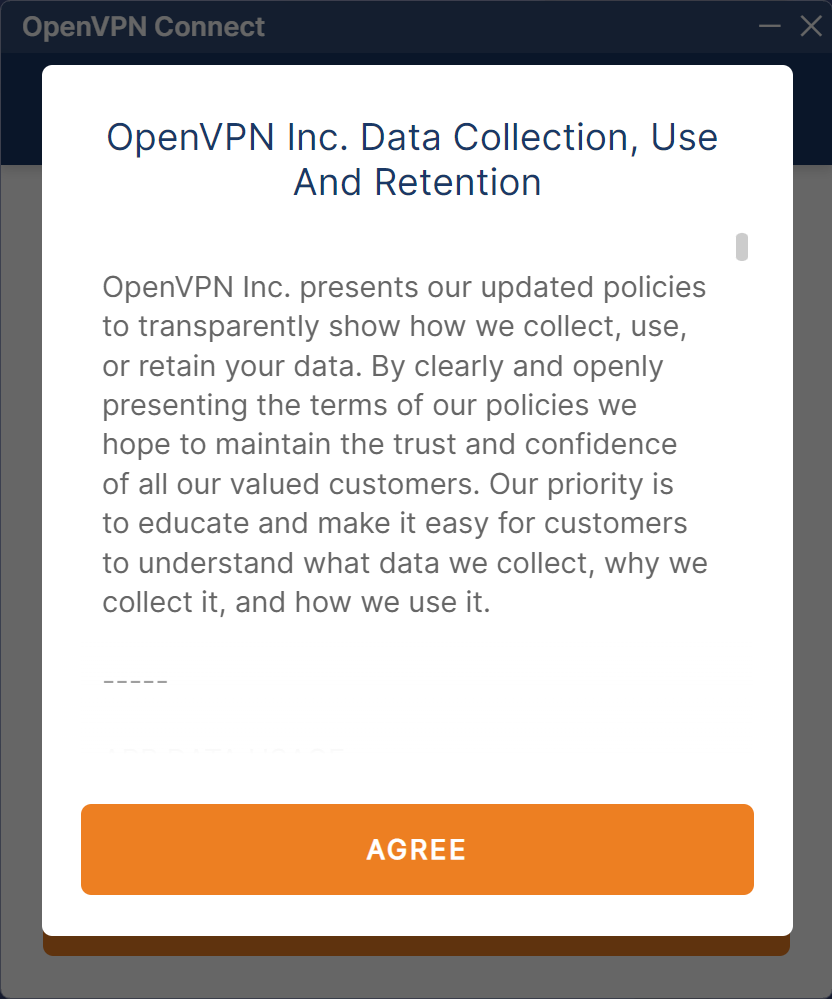
When opening the OpenVPN Connect client for the first time, the following screen (Figure 7) will appear to accept the Data collection, use and retention agreement.
After accepting the Data Collection agreement, the Import Profile window (as shown in the next figure) will display. In this window, two options are available. Select the Upload File tab at the top of this screen, to select the profile that you downloaded earlier.
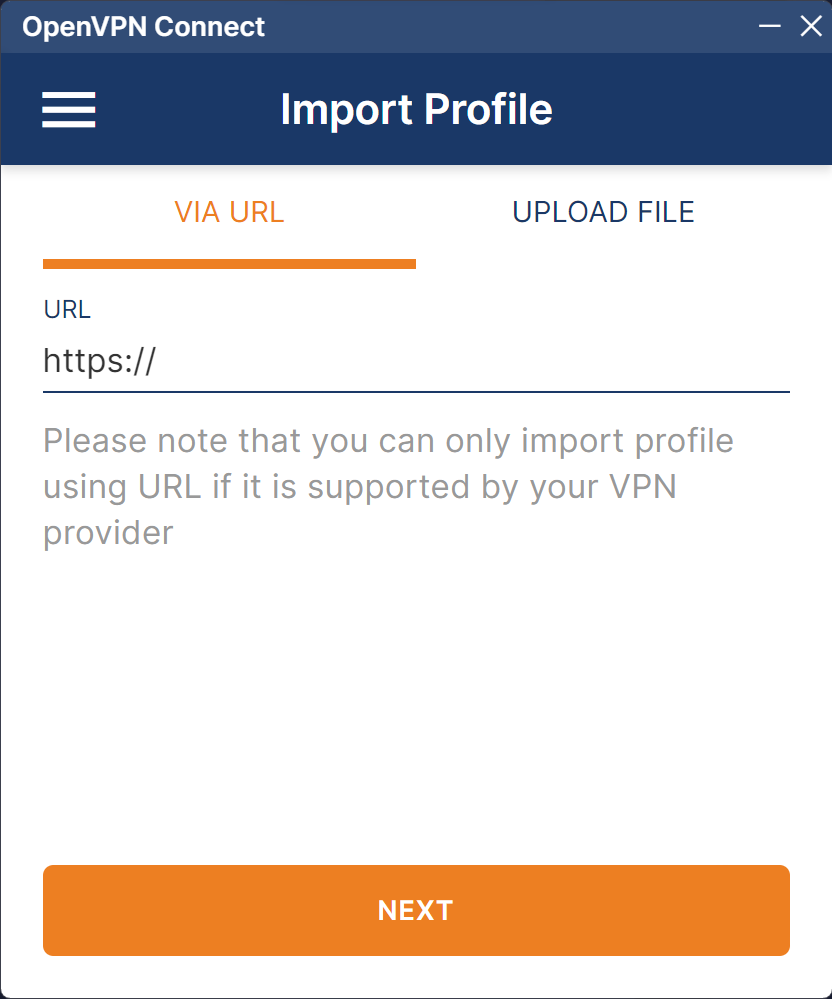
If you still need to download your profile, see the profile instructions page for more information.
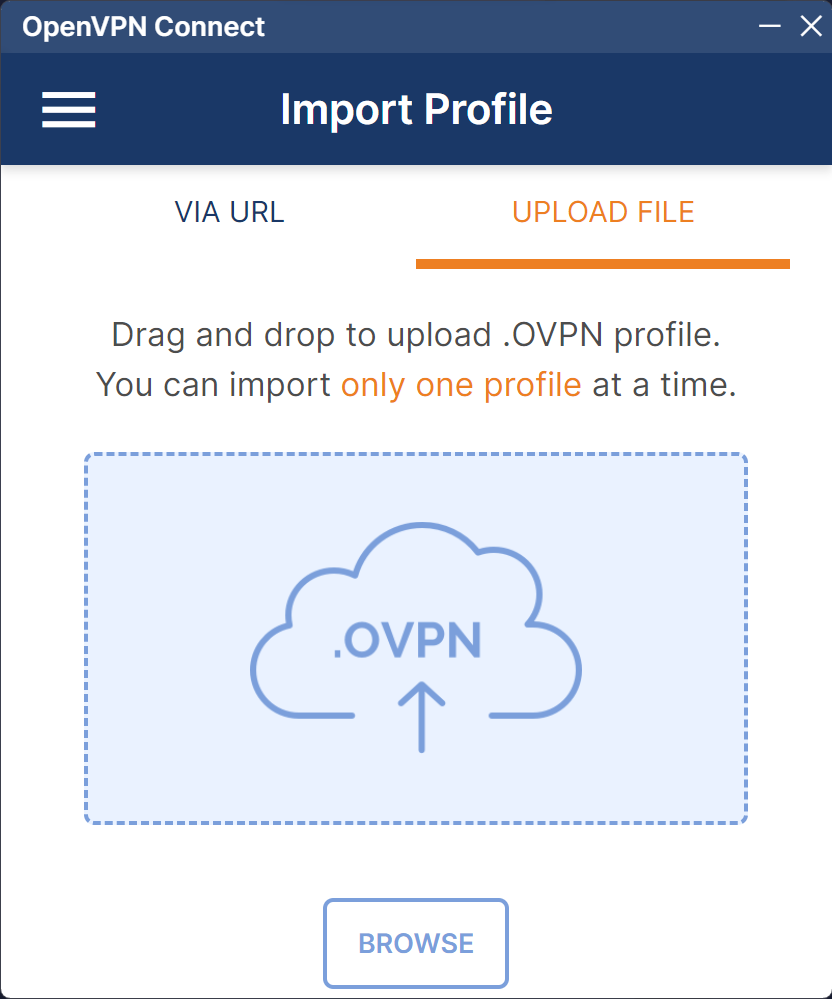
After clicking on the Upload File tab as in Figure 8 , the following screen will be displayed. You can either browse for the profile file, or simply drag and drop the file onto this window.
After browsing to the profile file, or dropping the file into the window as per Figure 9, the profile should be imported and prefill some values as displayed in Figure 10. Note that the username should reflect your eRN username.
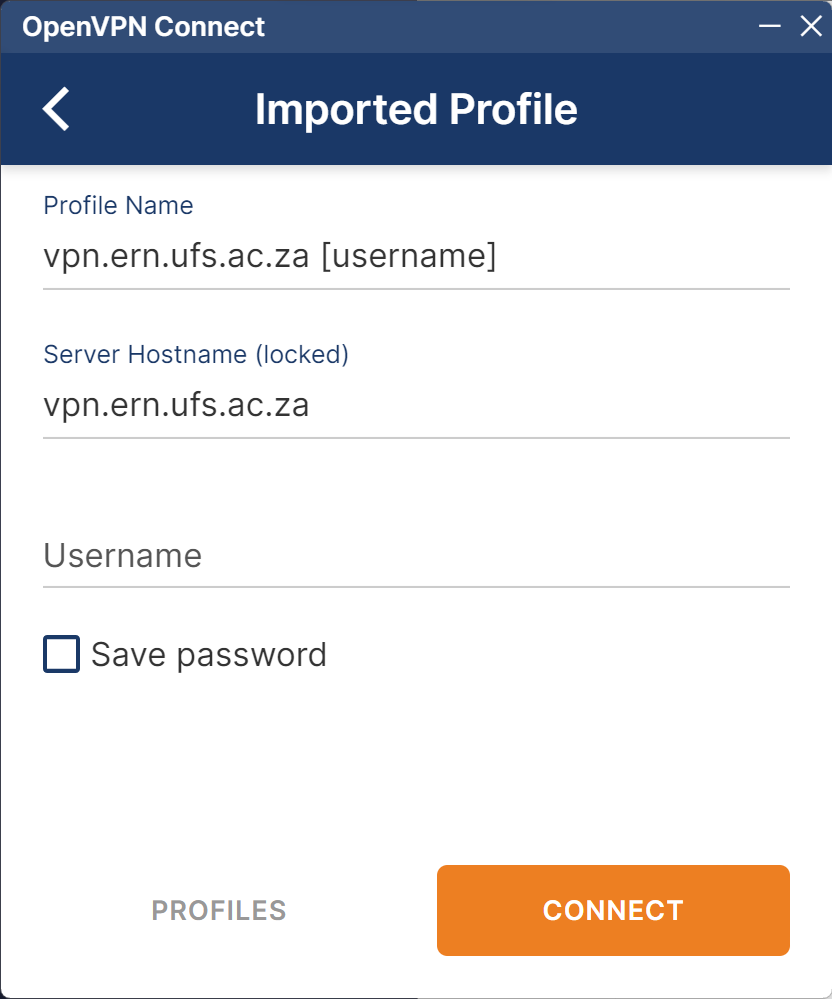
You can rename the profile name to reflect a more descriptive display name. Figure 11 displays a custom profile, with the username and password set. If you are the only person using the device, you may save the password for confenience. However, saving the password will allow any user of the device to connect to the eRN.

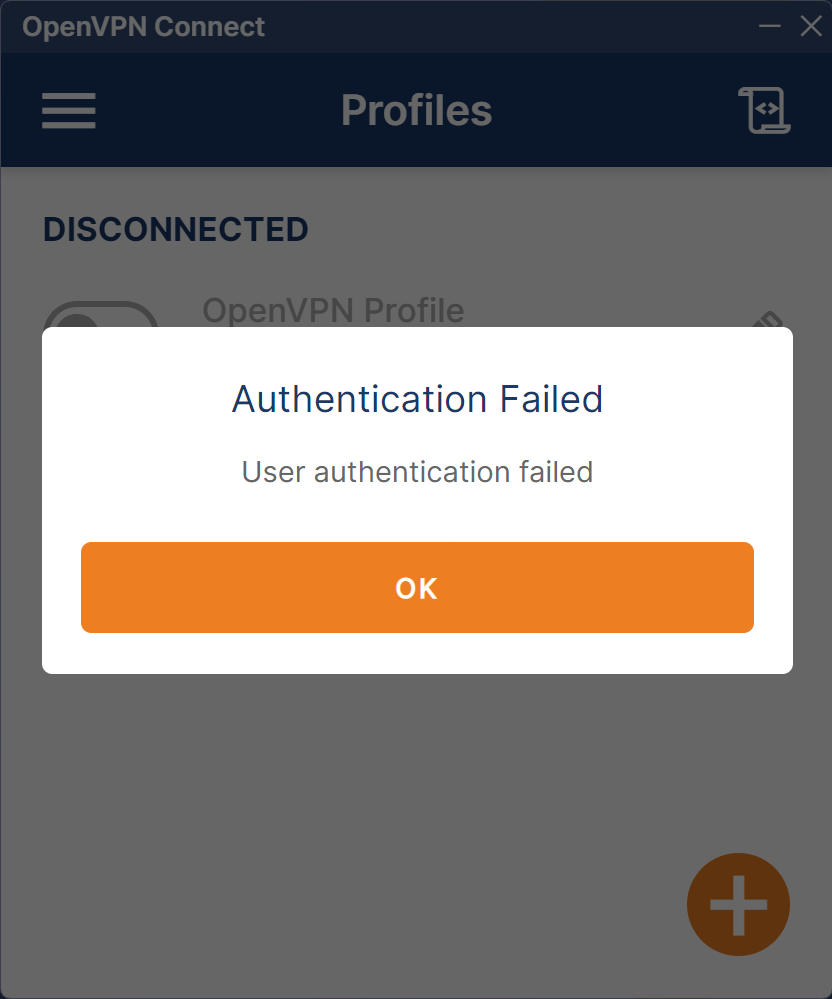
After providing your credentials as in Figure 11, you can click on the Connect button. If your credentials were incorrect, you will see an error message such as Figure 12. You will have to click on the pencil icon, to modify the profile and provide the correct credentials.
After clicking Connect, the following screen may show for a second or two while the connection is established.

Once the connection is established, you should see a window with a upload/download speed graph such as Figure 14.
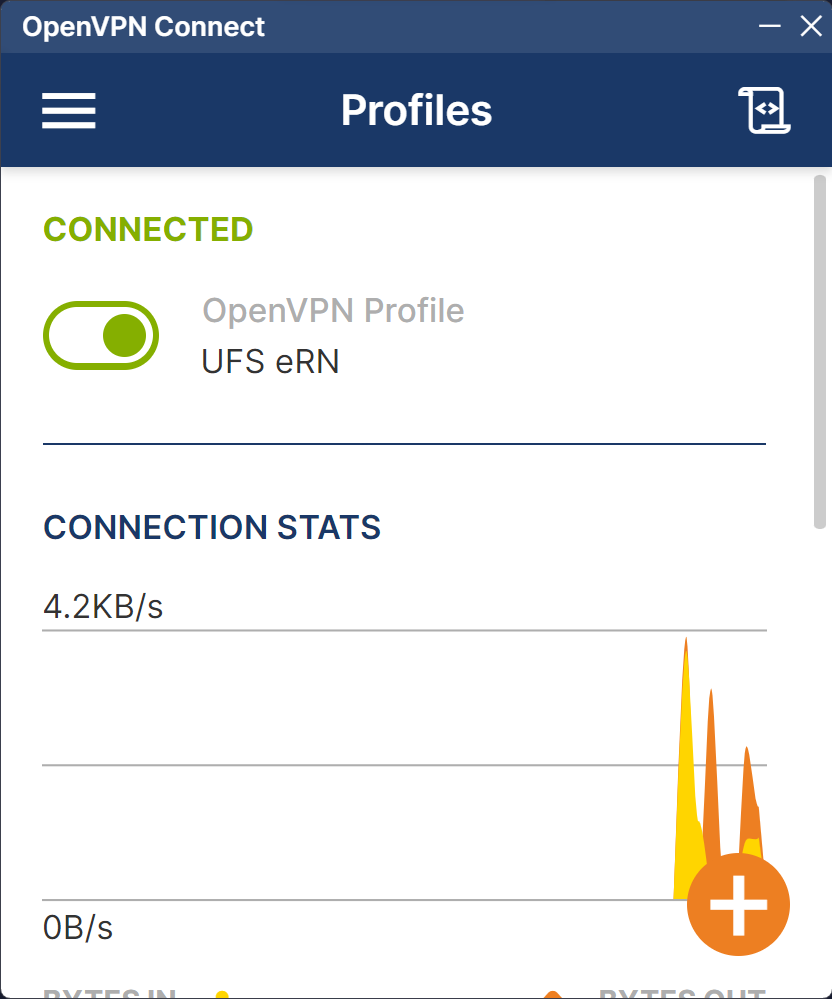
You are now connected to the eRN. When you are connected to the VPN, you are connected to the internal network of the eRN. Any privileged resources that you have access to and other shared resources should be accessible. Once connected, you can minimise the OpenVPN Connect window and continue your work.
Some UFS resources, such as PeopleSoft Financials, may not work correctly while you are connected to the eRN. We will attempt to include as many services as possible, but unfortunately, due to security constraints, some services may require you to disconnect from the eRN first.
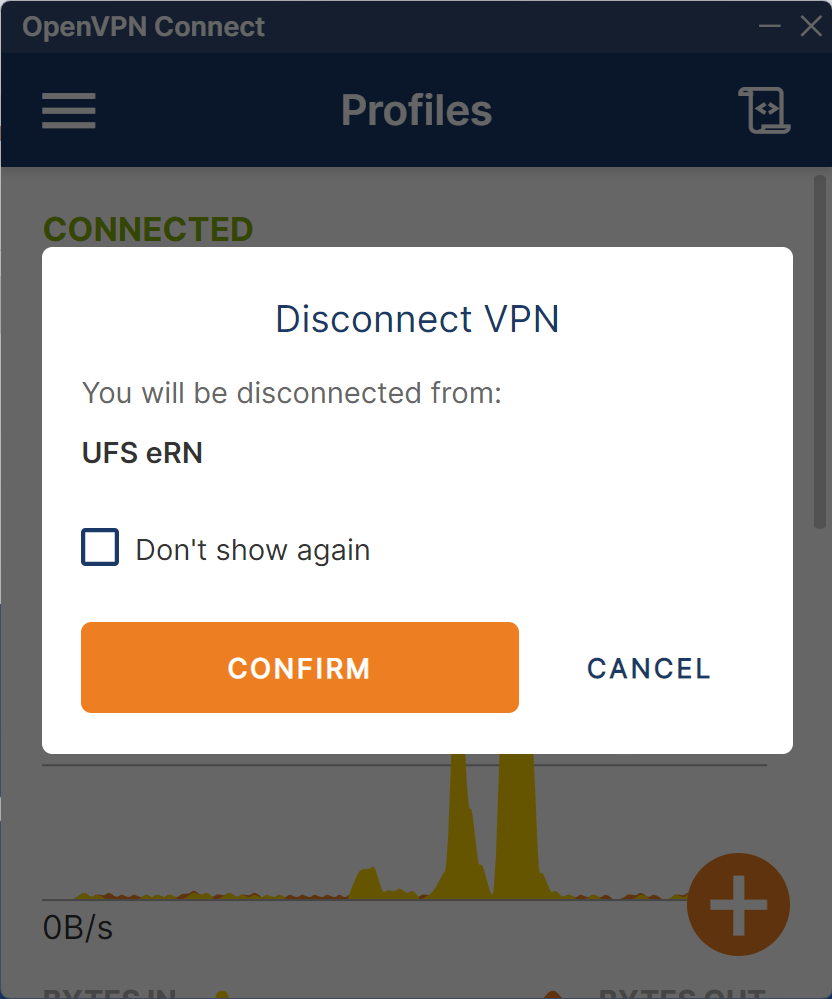
If you want to disconnect from the VPN, re-open the OpenVPN Connect client and click on the green radio button to slide the button to the left. This will disconnect you from the network, and a window such as Figure 15 will be displayed.