eRN VPN Connection Profile
Download your Virtual Private Network (VPN) Profile
The registration confirmation email sent to you will contain a unique link for your specific profile.
If you have not registered for any services yet, please see the eRN Application
This profile file contains all the required information to connect and authorise your computer to connect to the eRN. For security reasons, the link to the download will expire as soon as you download it or within seven days, whichever comes first. This profile ensures point-to-point encryption and safeguards access to the network by adding another level of security authorisation.
Download your OpenVPN profile as described in the initial email. Please keep this file in a safe location. Should this file ever be lost or compromised, please inform the eRN administrators as soon as possible to revoke access and reissue a new OpenVPN profile. If a malicious person gets hold of this file, they can connect to the VPN but still require your password to log in. However, this is an unnecessary risk, and it is better to revoke the profile and create a new connection profile.
Figure 1 illustrates the first page displayed when opening the link. You will be prompted for the password provided in the original registration confirmation email. This password is either the temporary password supplied or a personal identifier predetermined and selected to safeguard this profile.
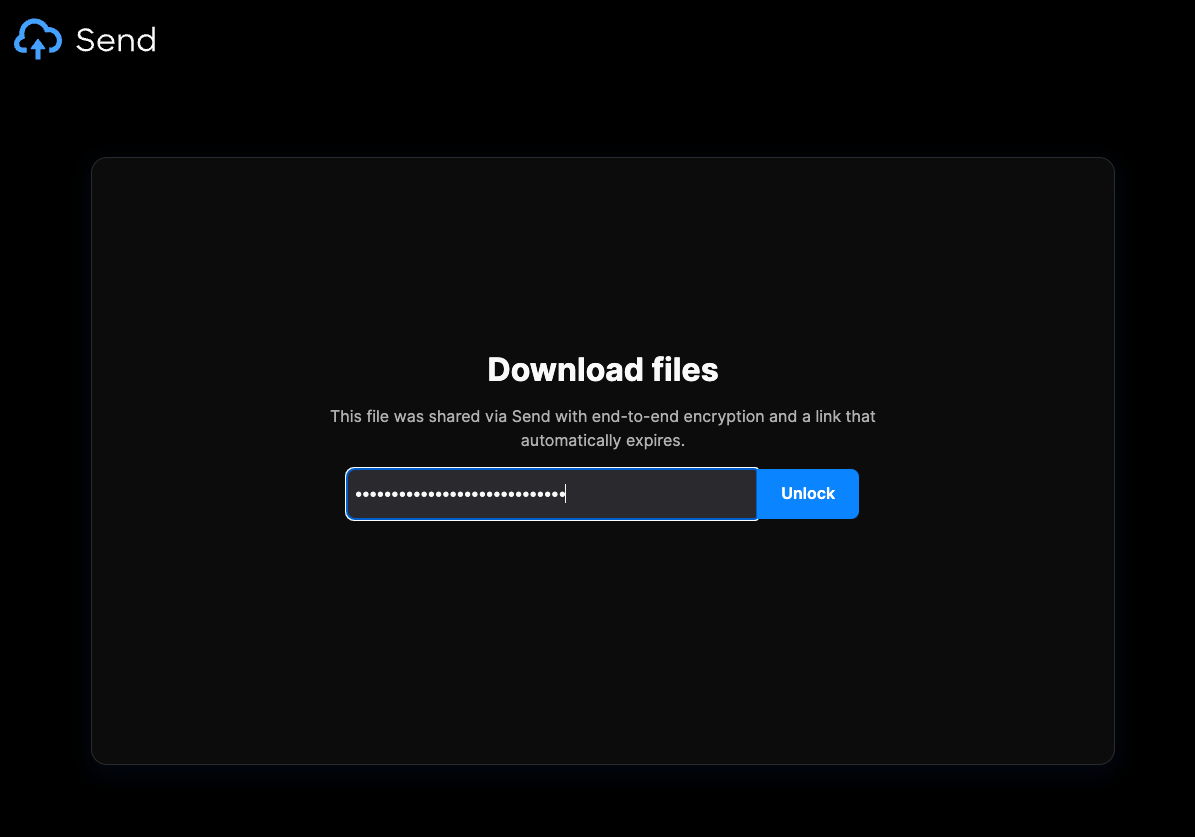
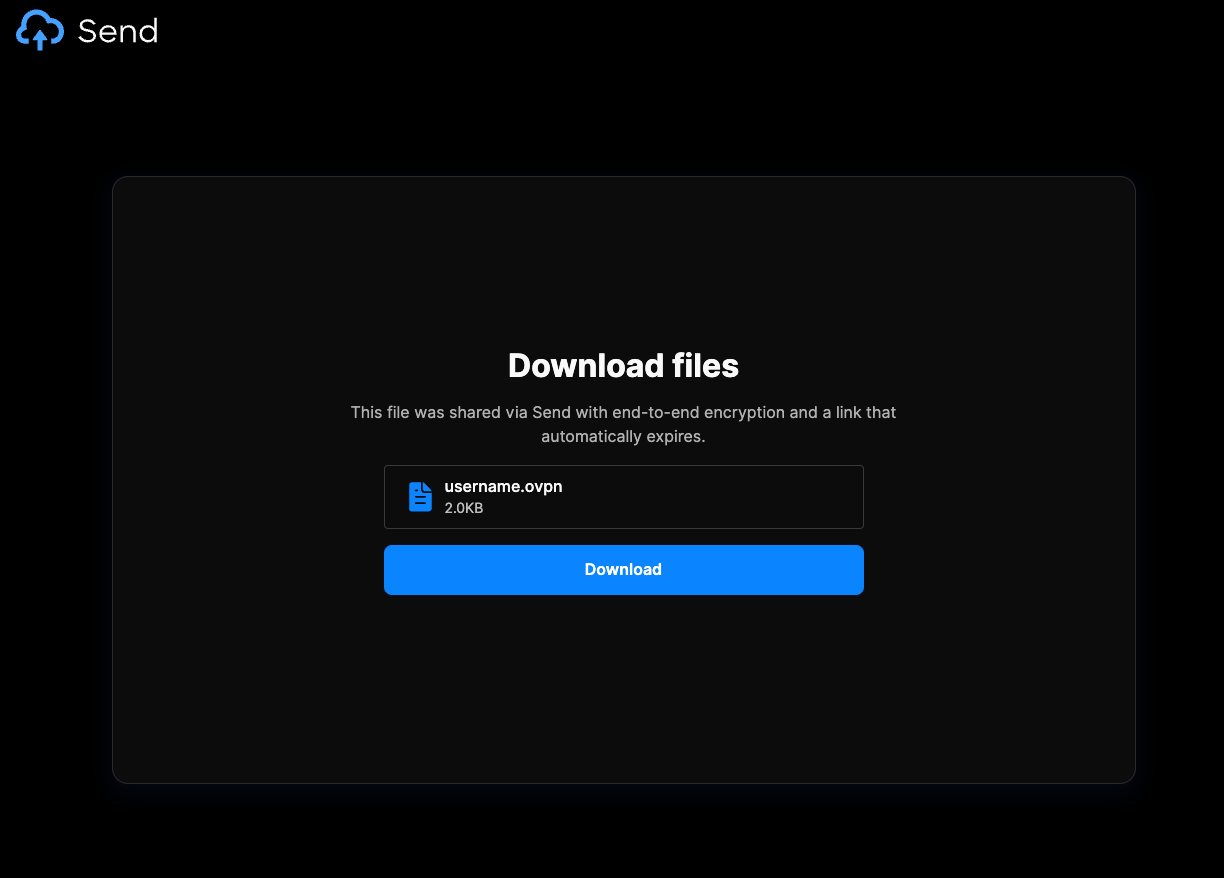
After providing the password (Figure 1), you will be given the option (Figure 2) to download this file. Please note that this action is a once-off step, so ensure that you download it on the primary device you intend to use to connect to the eRN.
The filename will contain your eRN username, which indicates that the profile is specifically crafted for your account specifications and cannot be used by other eRN users.
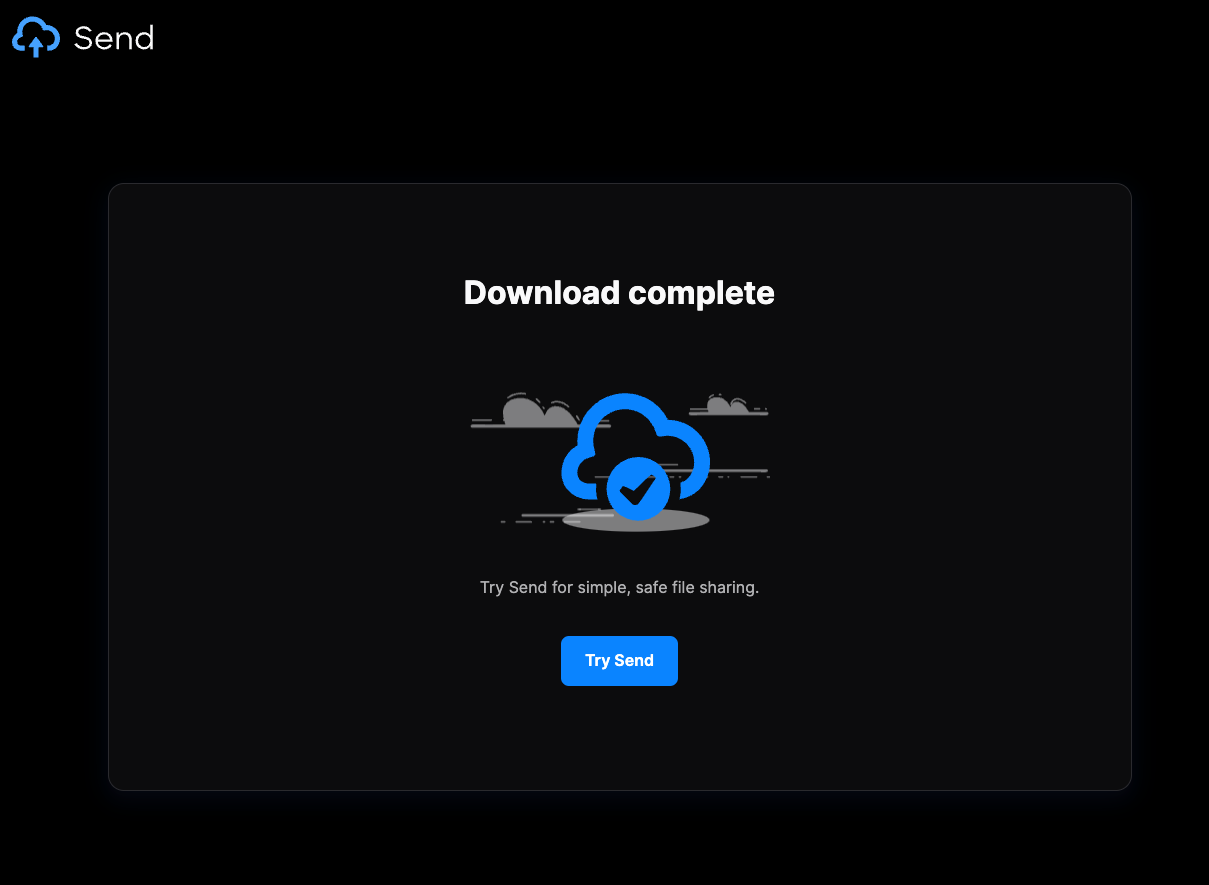
The download complete page (Figure 3) will be shown after completion. This page has an option to "Try Send". This might be useful if you intend to use more than one device to connect to the eRN.
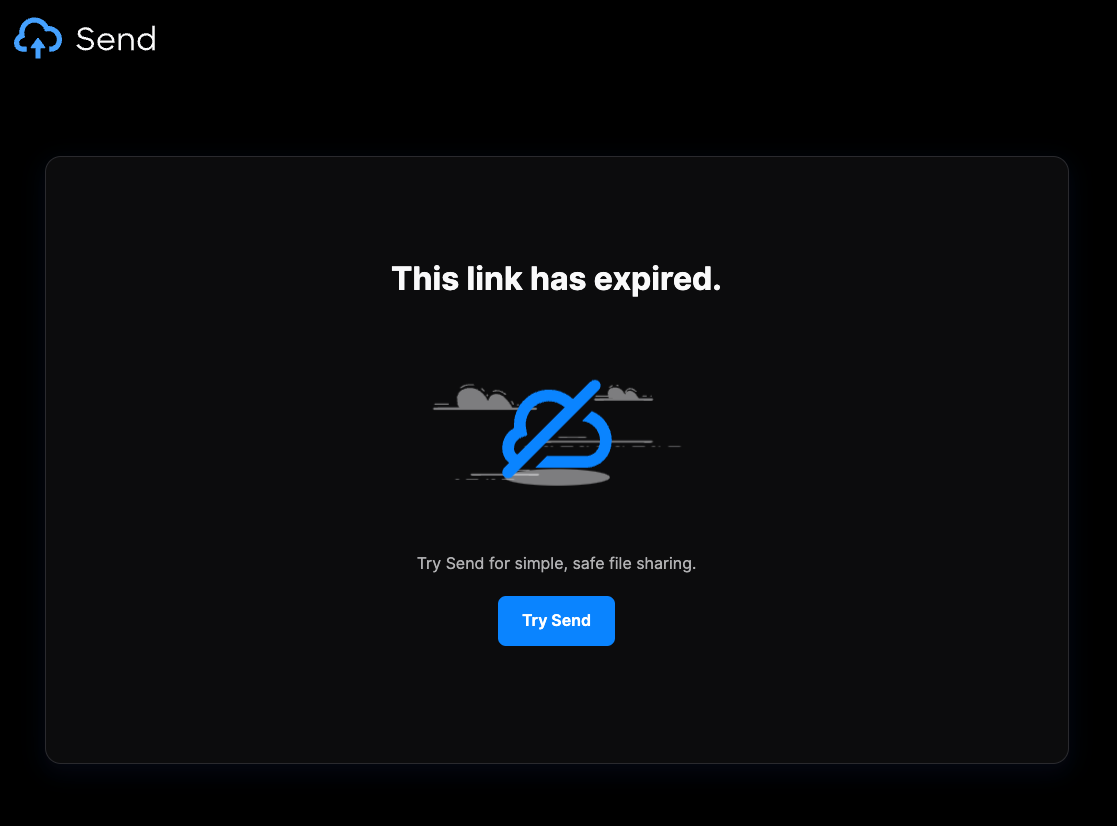
After downloading the file, the link will expire, and you will see a page like (Figure 4) when attempting to access the same link. However, if it is the first time you tried to download the file within seven days after receiving your registration confirmation and see a page such as (Figure 4), please inform the eResearch administrators, as this may indicate that the file has been compromised.
Upload the profile for more devices (Optional)
You must reuse the same VPN profile if you need to use the eRN on multiple devices. At this moment, you may decide to re-upload the file and download it on another device. One option is to use standard file operations, such as copying the file onto a removable drive and connecting the drive to the destination machine.
However, it may be easier to upload the file and redownload it onto the intended device, especially if it is a mobile device such as a tablet or mobile phone with no data transfer (USB) ports.
After downloading the profile in the previous step, click the "Try Send" button. If you click this button, you will be redirected to the URL: https://send.ern.ufs.ac.za
If you close the window or want to continue later, go to the webpage: https://send.ern.ufs.ac.za to upload the file again.
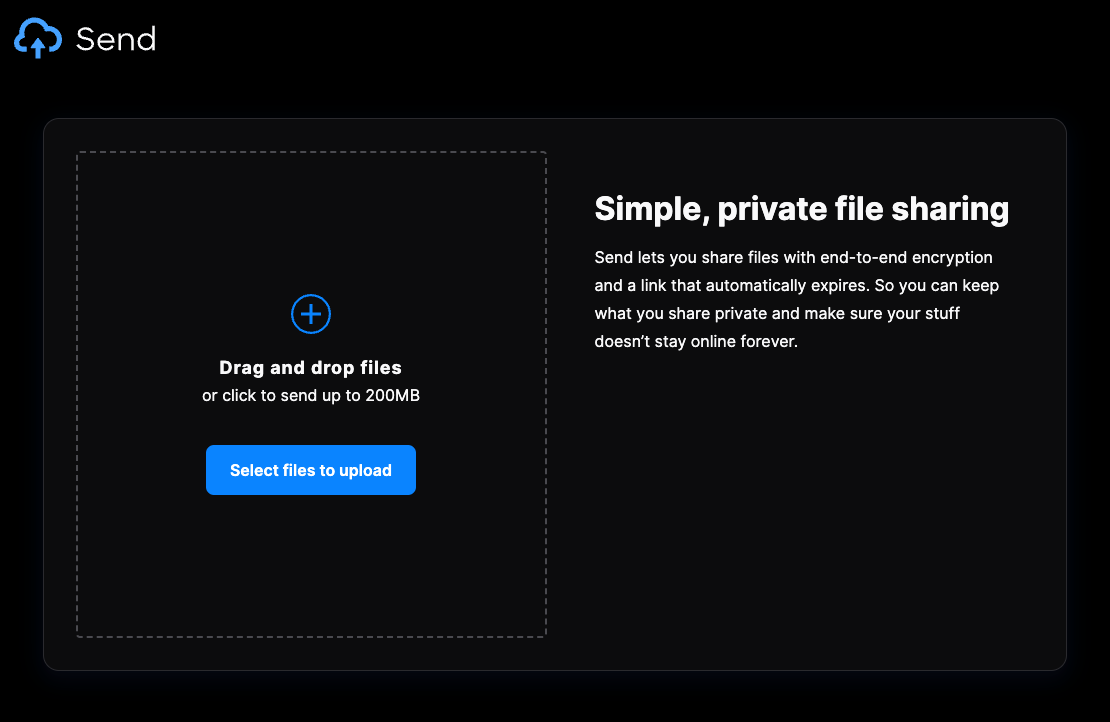
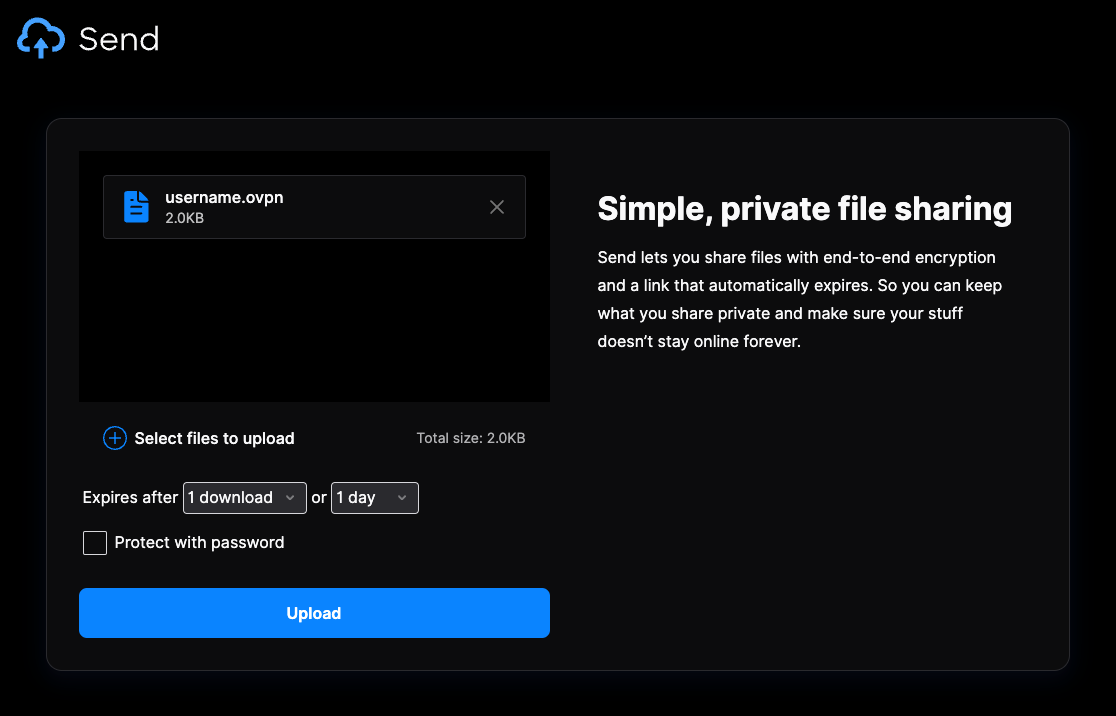
To upload a file using the Send File Service (Figure 5), you can drag and drop files or click the "Select files to upload" button. Note that there is a file size limit of 200 MB.
Select the file to upload (Figure 6) and specify the limitations such as the expiry date, number of allowed downloads and password to download the file. These options are for your benefit, but ensure the file is still safeguarded.
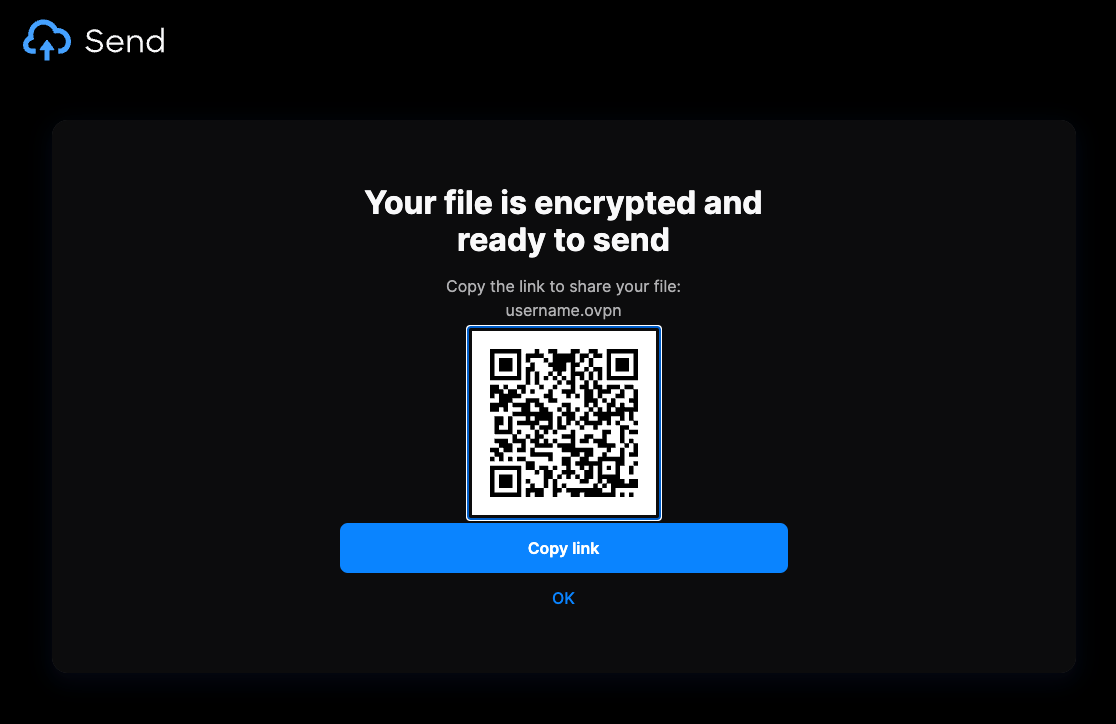
After the file is uploaded, a page (Figure 7) with the new link will be displayed. You will need the created URL to download the file on the other device.
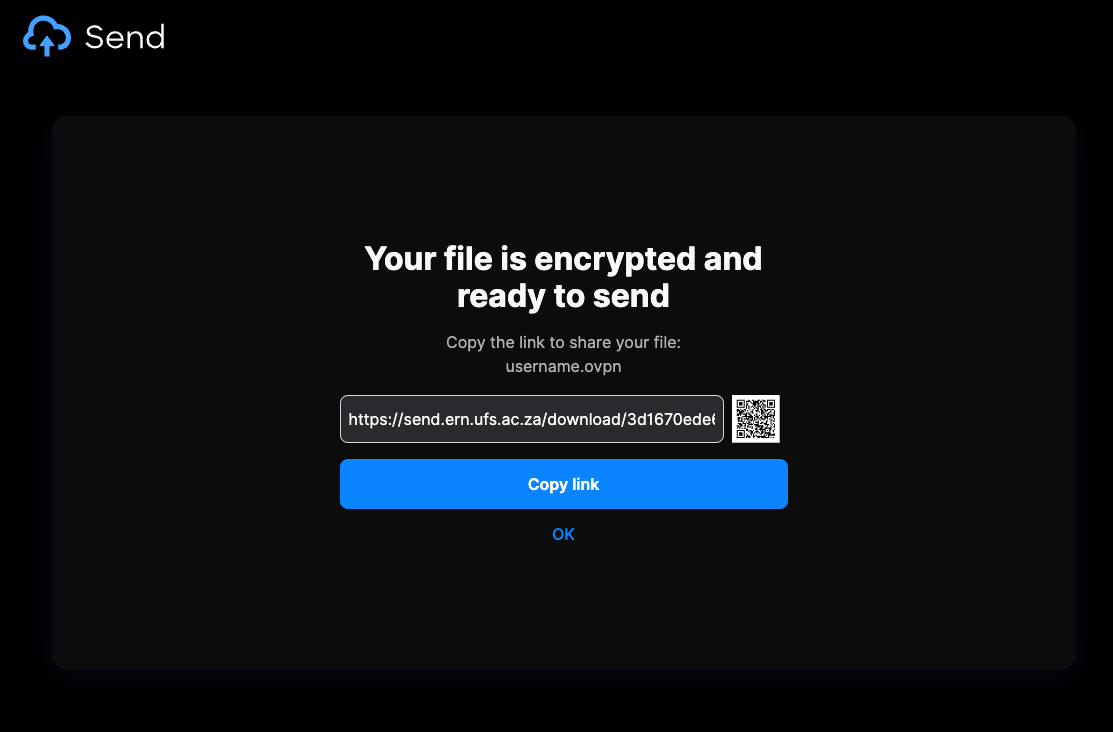
You can copy the link using the "Copy link" button or click on the small QR code image next to the link to display a QR code that a mobile device's camera can scan to download the file on the device. When clicking on the QR code image, a page (Figure 8) can be checked with your mobile phone to download the file.
